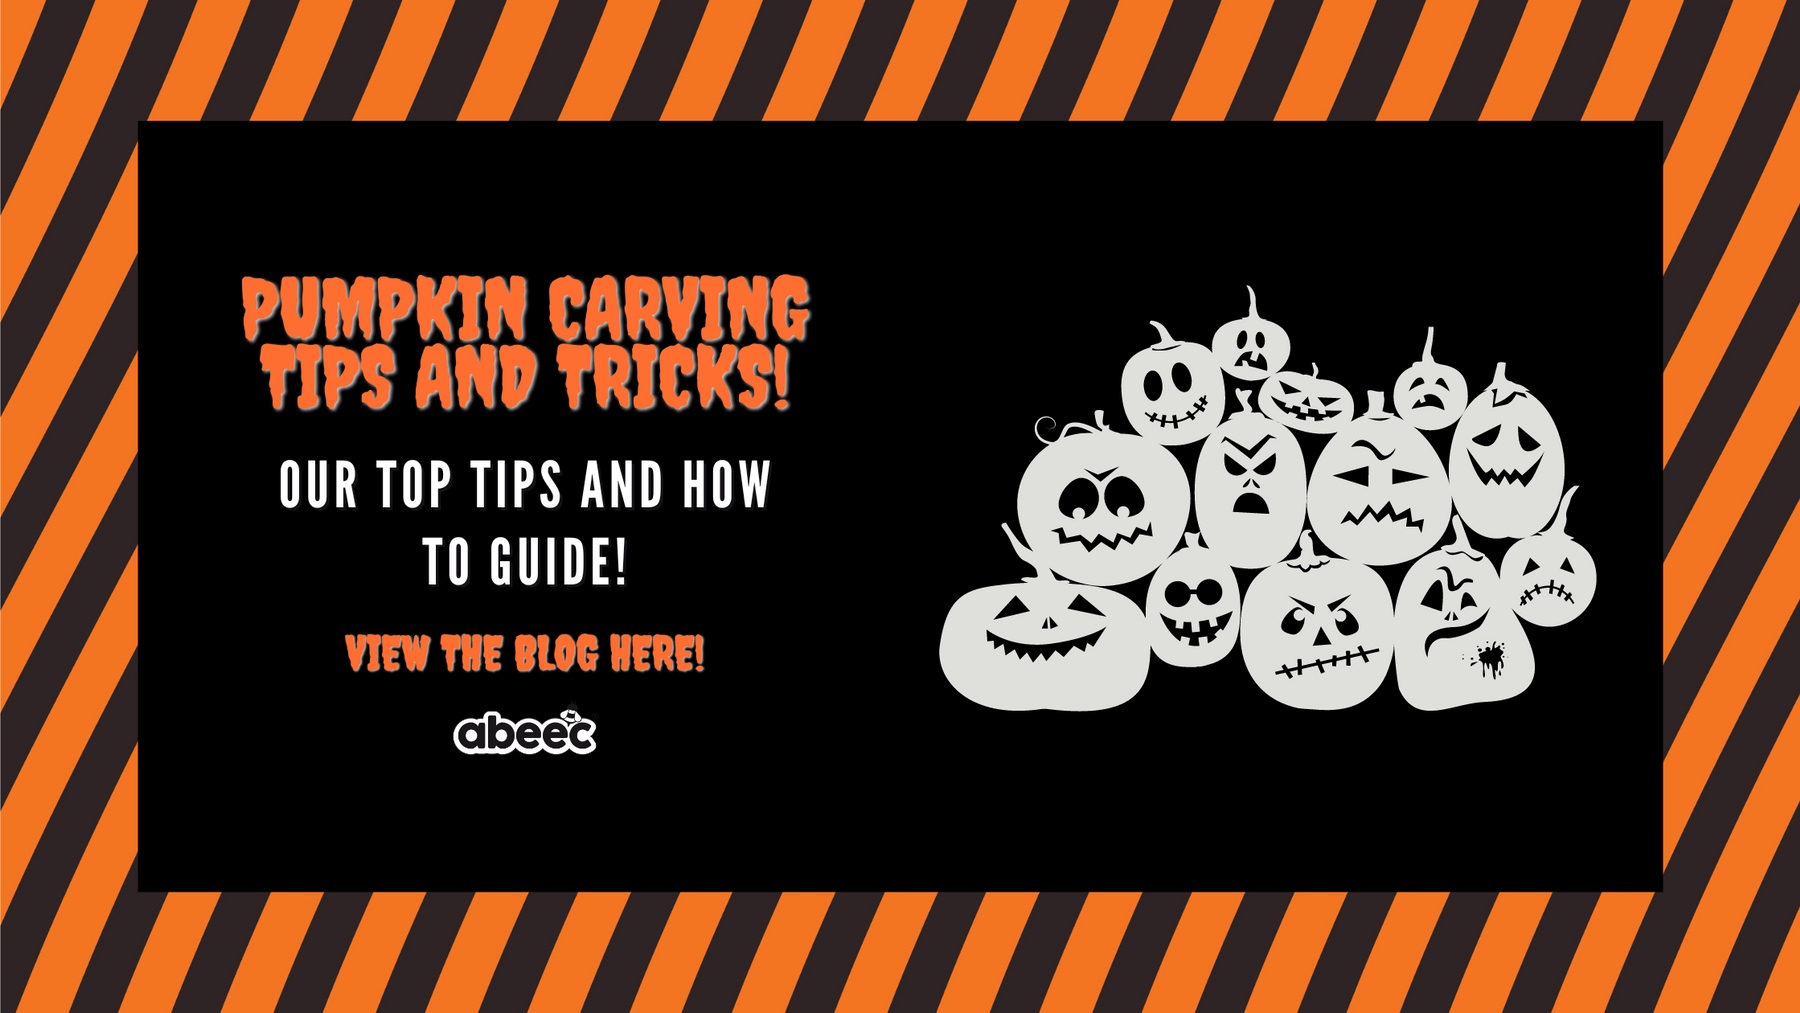
Pumpkin Carving Tips & Tricks To Create The Perfect Pumpkins For Halloween
6 Pumpkin Carving Tips to Help You Create the Perfect Pumpkins for Halloween
Welcome to our how to guide for carving Pumpkins – The Ultimate Pumpkin Carving Tips for Halloween
Whether you're carving a pumpkin for the first time or looking for some spooky inspiration to impress the local trick or treaters, abeec Toys has the best techniques for carving pumpkins in one handy guide! Discover essential tools you'll need, step-by-step instructions and top carving tips as we enter Halloween season. This guide will certainly help if you need inspiration with your Jack O Lantern carving.

1. Why Are Pumpkins Carved at Halloween?
According to English Heritage the preparations for Halloween in the past involved carving ghastly faces into turnips, to make them resemble demons or devils. Contrary to popular opinion, this tradition started in the UK and not the USA, where Halloween is seen as more of a tradition.
To really create a scary atmosphere, burning candles were then placed into the hollowed-out turnips. The glowing carved faces were reminders of death and were also used to scare nasty neighbours! So not much different from the Halloween we know today!
These shining turnips were called punkies and Jack o’-Lanterns and were named after ghostly lights rumoured to be seen in marshes and bogs that were believed to be the spirits of the dead.
2. Pumpkin Carving Tools You'll Need
Firstly, ensure you are working on a clean and hard surface. Put down a layer of newspapers or large bin bag to collect any spills or bits of pumpkin getting everywhere.
Secondly choose your tools wisely. You can use a serrated knife from your kitchen or the largest serrated tool in a pumpkin carving kit.
Thirdly, find a permanent marker or washable marker and draw a circle with about a 5cm radius from the stem of the pumpkin with your felt tip. Tilt the blade at a 45-degree angle toward the stem and push it into the pumpkin. Saw along your outline with the knife until you can pull the lid off.

3. How To Carve A Pumpkin? Pumpkin Gutting guide.
a. Choose Your Perfect Pumpkin
This will just be personal taste, find the pumpkin that catches your eye in the supermarket or alternatively there are a lot of options to go pumpkin picking yourself, which makes a fun activity with kids this autumn.
b. Opening Your Pumpkin: Cut from The Bottom
Cutting the “lid” from the bottom of the pumpkin helps to prevent the sides from caving in later.
c. Gutting Your Pumpkin
A spoon or special claw is useful for this stage of the process. An ice cream scoop will also help with this stage. Thin the inner wall of the "face" area to a few centimetres thick, so it will be easier to pierce the shell later.
d. Designing Your Pumpkin
We have included some stencils in our pumpkin carving kit but you can find a link to some easy pumpkin carving ideas on the abeec free downloads page as well. You could also create your own template of stencil using a fork or pencil to plot your lines.
e. Start Cutting!
Hold the pumpkin in your lap. It's easier to create features when the face is gazing up at you. Keep it simple at first, if you get the big pieces of pumpkin out of the way first, you can go back and clean up the edges of your design later.
4. Use Your Pumpkin Scraps Creatively
Pumpkin can be used for a variety of Halloween based fun, but we recommend keeping the pieces to use it for a meal. There are many options for using pumpkin creatively such as soup, pie, seeds and even a spiced pumpkin latte!

5. Preserving Your Pumpkin
It is recommended to spread petroleum jelly on the cut edges to seal in the moisture of the pumpkin. If your pumpkin still shrivels a few days later, you can revive it with a facedown soak in cold water for up to eight hours. That should help keep it looking mean and scary.
6. Add A Glow and Get Creative
Place your candle (or candles) into your pumpkin before lighting. The other option, which is more kid friendly, is go for battery operated tealights, which you can find in our pumpkin kit on amazon. At this point you can also add glow in the dark teeth to your pumpkin or anything else you think will make your pumpkin creation stand out to local trick or treaters or at your Halloween party.

abeec Quick Tips for Pumpkin Carving
- Put newspaper down on your dining table or kitchen surface. It helps to keep things clean. Thank us later.
- Choose a sharp knife.
- Make pumpkin picking a day out –fresh air for the kids and will be fun!
- Sprinkle cinnamon inside the lid – will make the pumpkin smell like pumpkin pie.
- Use your pumpkin to make a soup or pie after Halloween
- If you get really stuck, this You Tube Pumpkin Carving Video should help
Thanks for reading our abeec toys guide to carving pumpkins. We hope you found it useful and enjoy spending time with the kids on this fun activity. Our carving kit can be found on amazon.
If you are looking for further inspiration for Halloween – we have a collection of our best Halloween crafts on our blog, enjoy!